 Synced from GitHub
Installer Guide
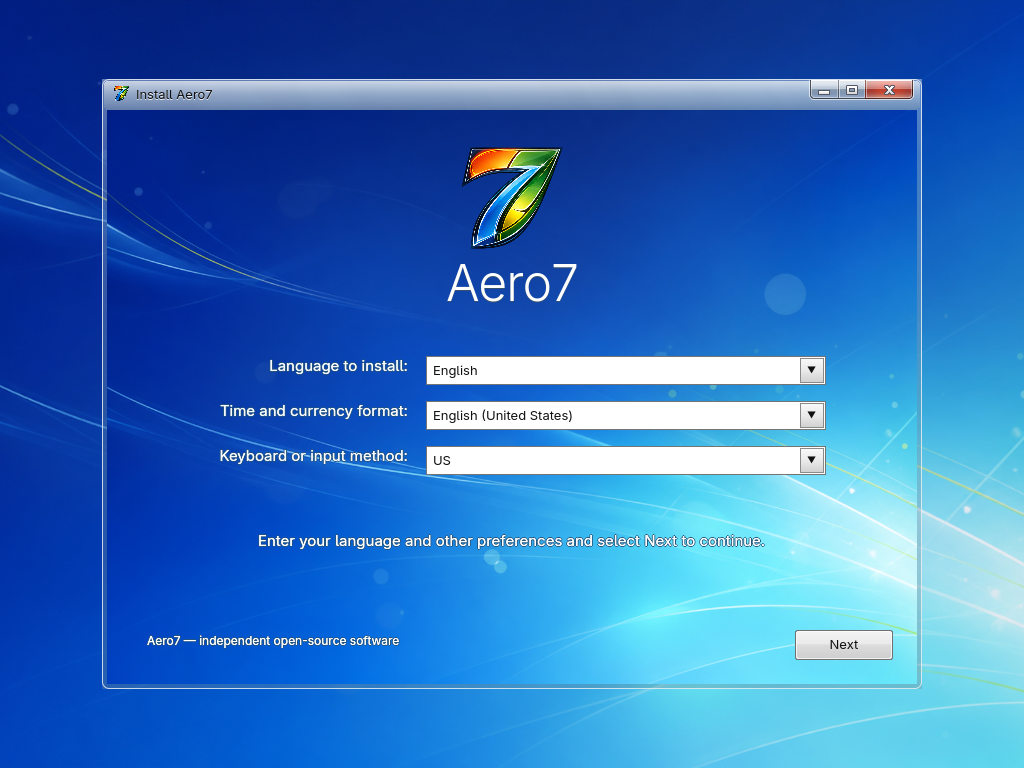
Language and region
Choose the installer language, time and currency format, and keyboard layout. Beta 1 currently presents the English/US choices used by the validated flow.
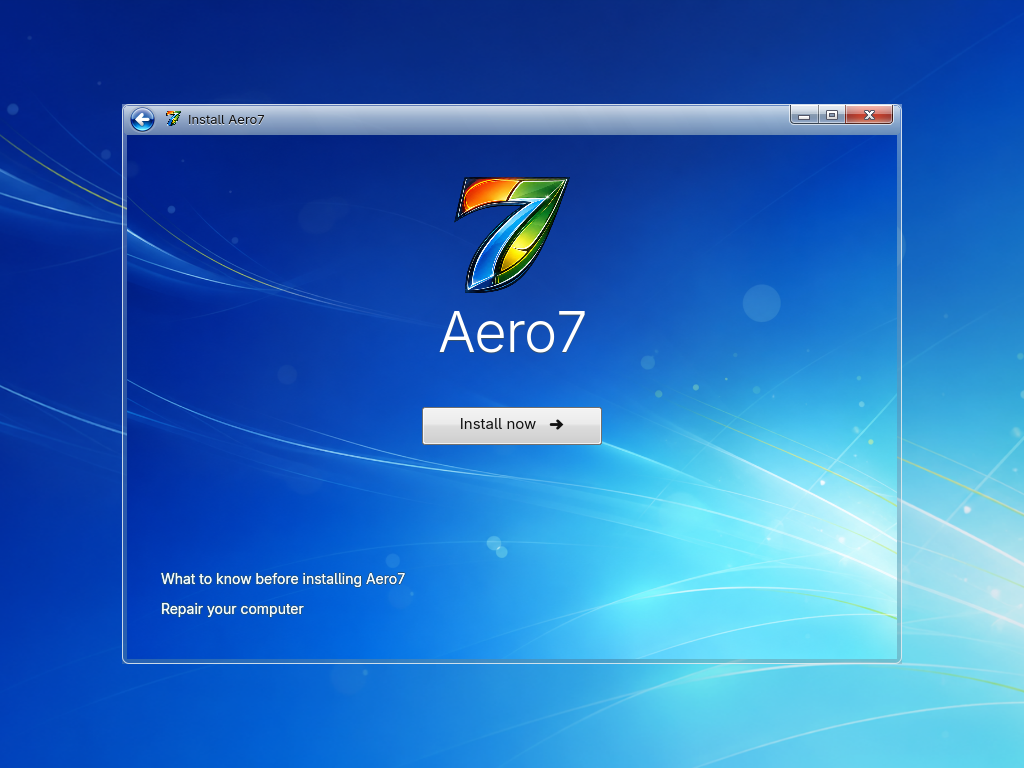
Install now
Starts setup. Upgrade is visibly disabled because Beta 1 performs only clean installations. Repair your computer asks for confirmation, starts the TTY2 recovery shell, and switches to it.
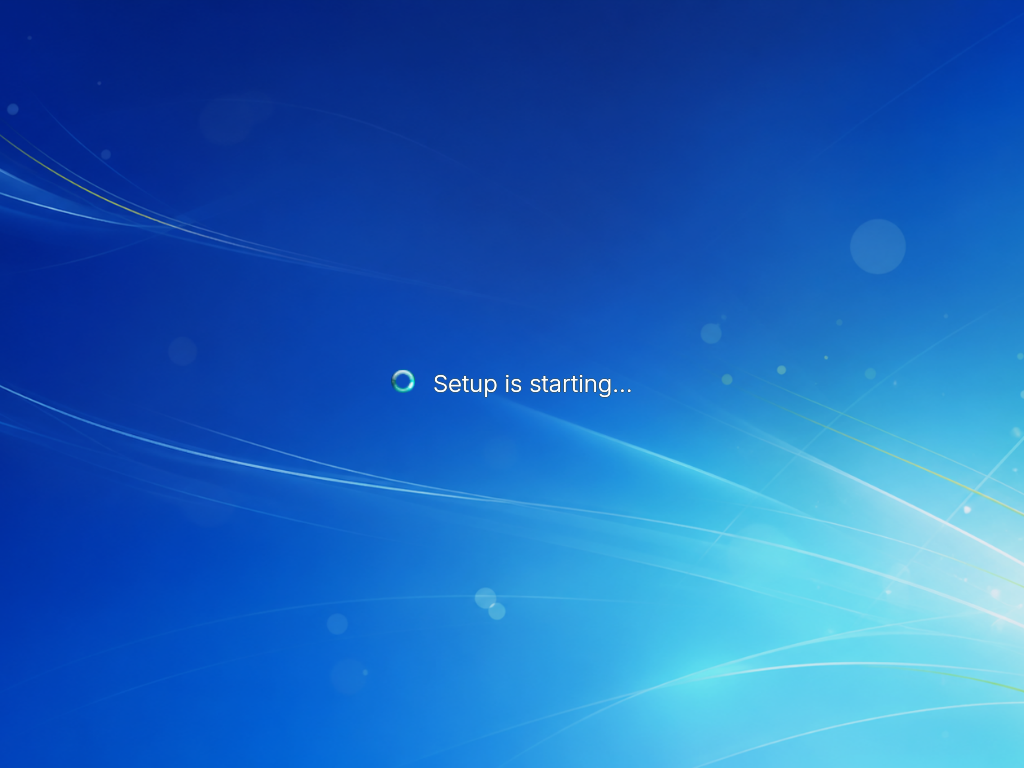
Setup briefly shows a full-screen starting transition before opening the license page.
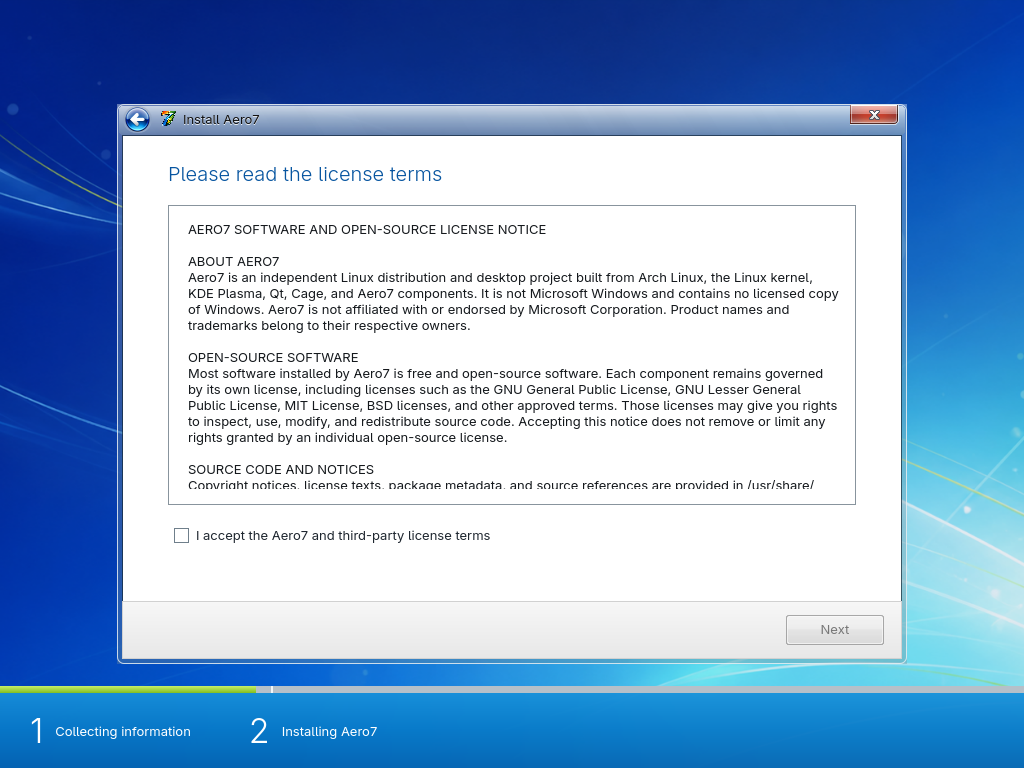
License notice
The notice explains that Aero7 is an independent Linux system, lists the open-source licensing model, warns about whole-disk, format, and shrink risks, documents network package access, and provides the Beta no-warranty statement. Acceptance is required before continuing.
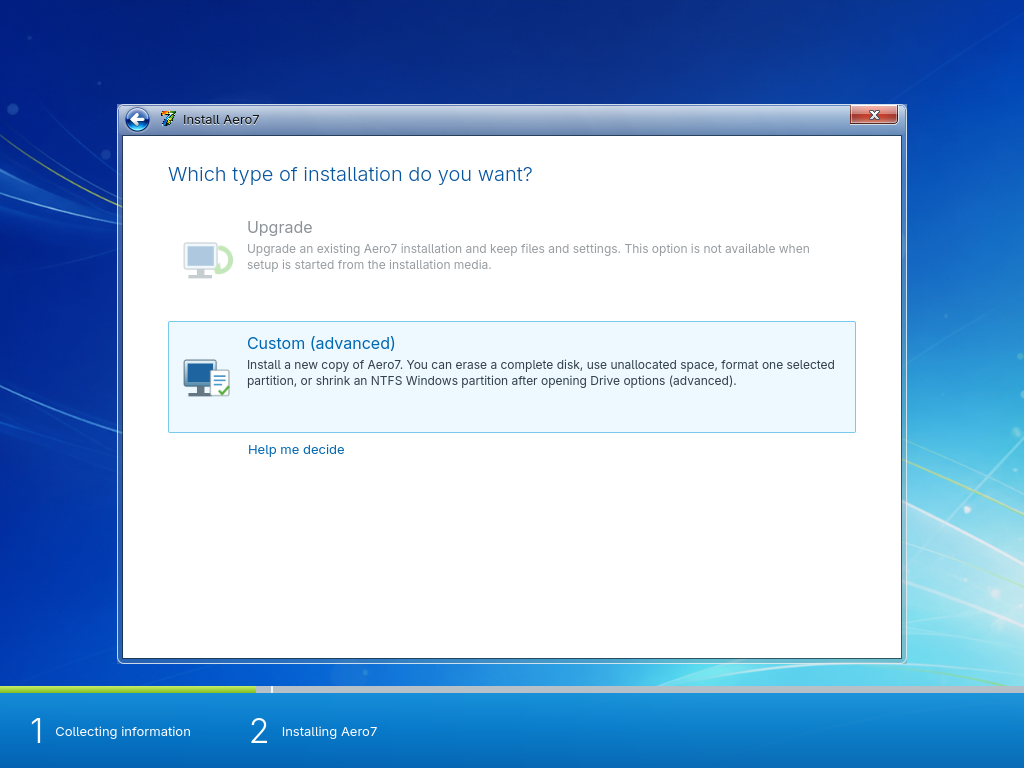
Installation type
Only Custom is active. Upgrade remains unavailable; guided preservation is provided on the following disk page through Drive options (advanced).
Disk selection
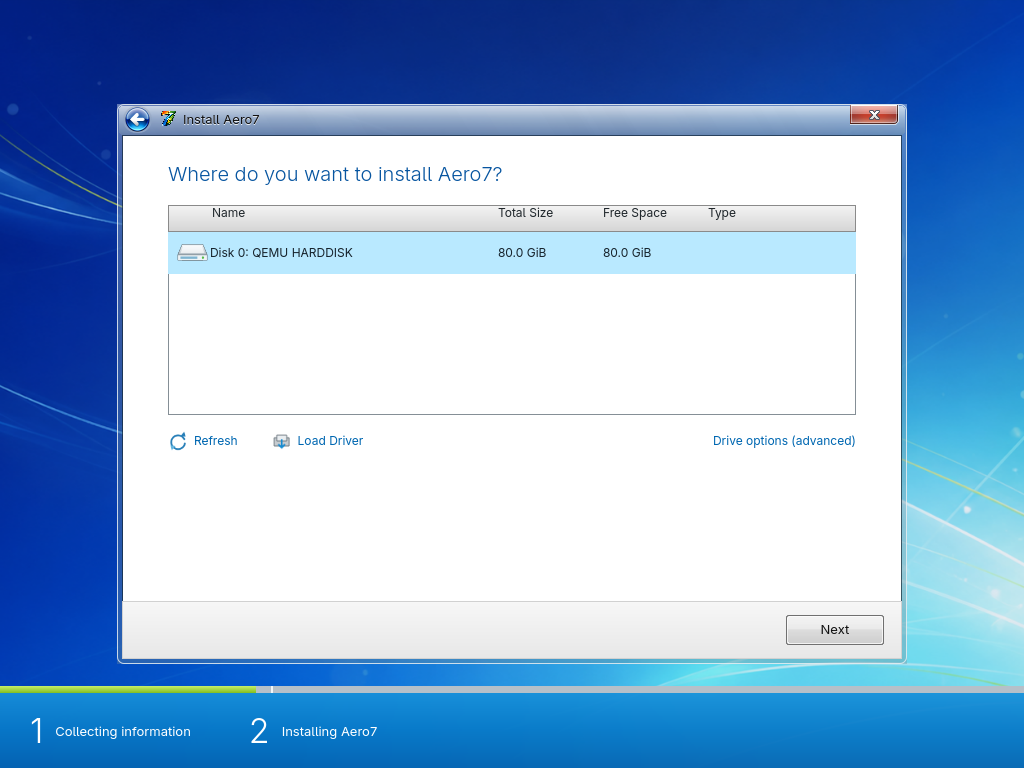
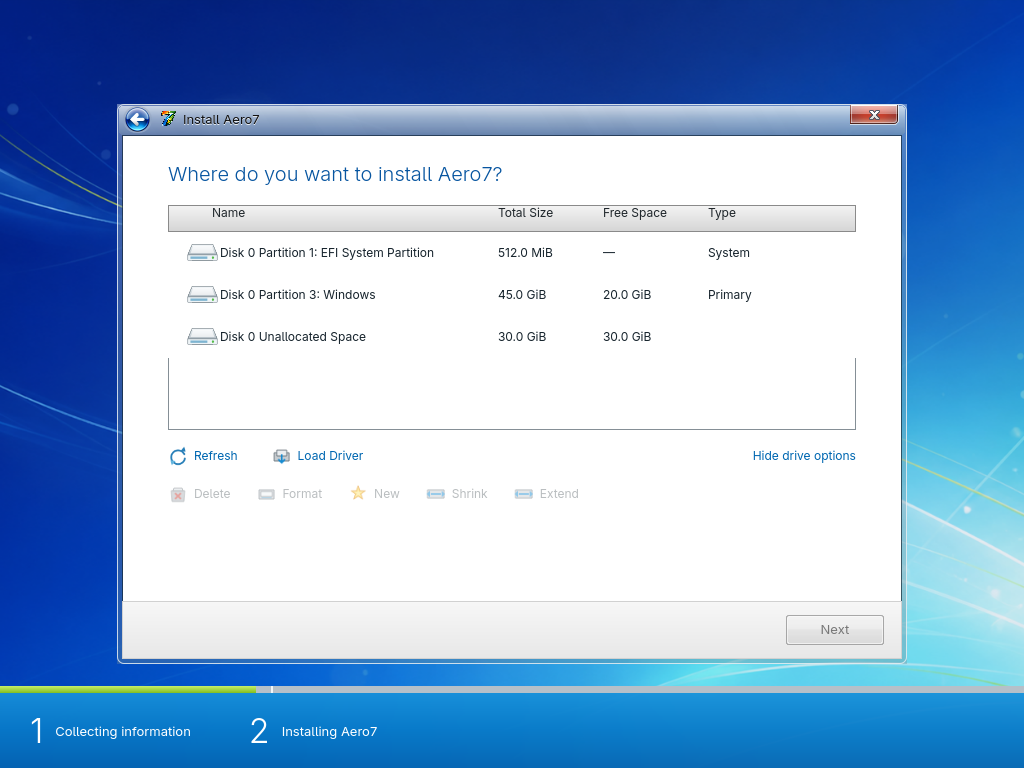
The backend lists only devices passing all safety rules. A valid development target is an unmounted, writable, non-removable SATA, NVMe, MMC, or VirtIO disk that is not the live ISO source. Basic mode selects the whole disk. Advanced mode lists its exact GPT partitions and unallocated ranges and enables New, Format, or Shrink only where the fixed layout fits.
| Basic disk selection | Guided advanced drive options |
|---|---|
 |  |
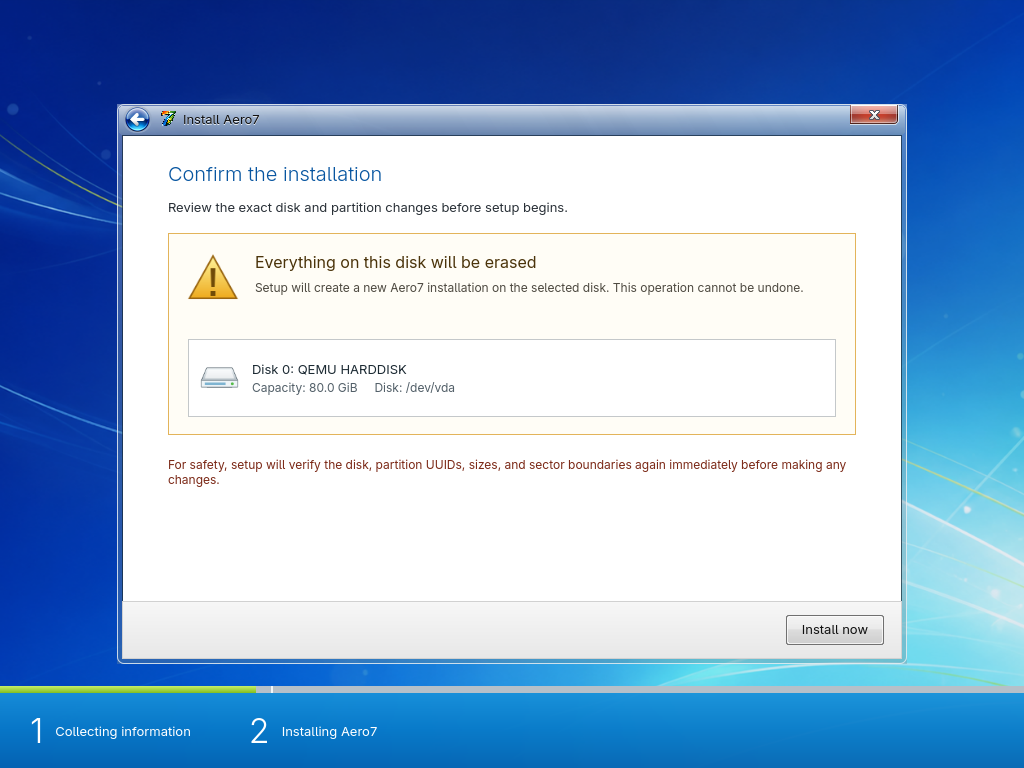
The final confirmation repeats the exact device identity. Setup immediately re-reads the disk and rejects it if its path, size, model, serial, major/minor number, mount state, removability, partition UUID, filesystem, or sector geometry has changed. Advanced setup also requires a successful partition-table backup before its first write.
Installing
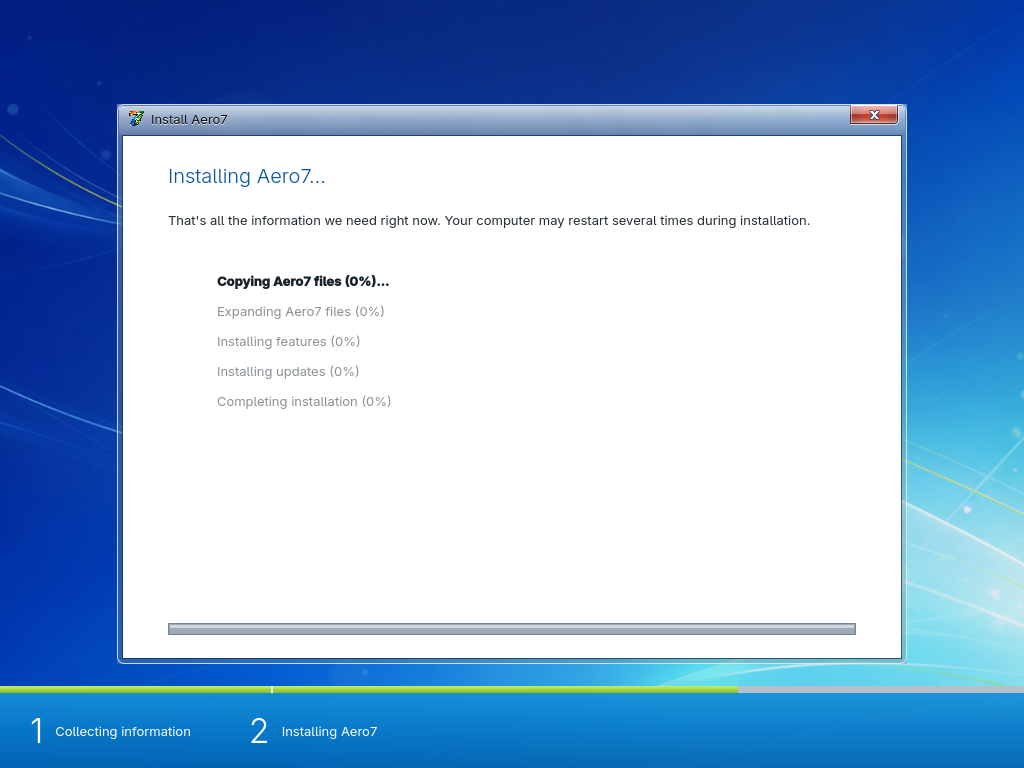
The progress page covers:
- copying Aero7 files;
- expanding the base system;
- installing features and signed Aero7 packages;
- installing updates;
- completing installation.
Detailed output is written to /var/log/aero7-installer.log.
Restart
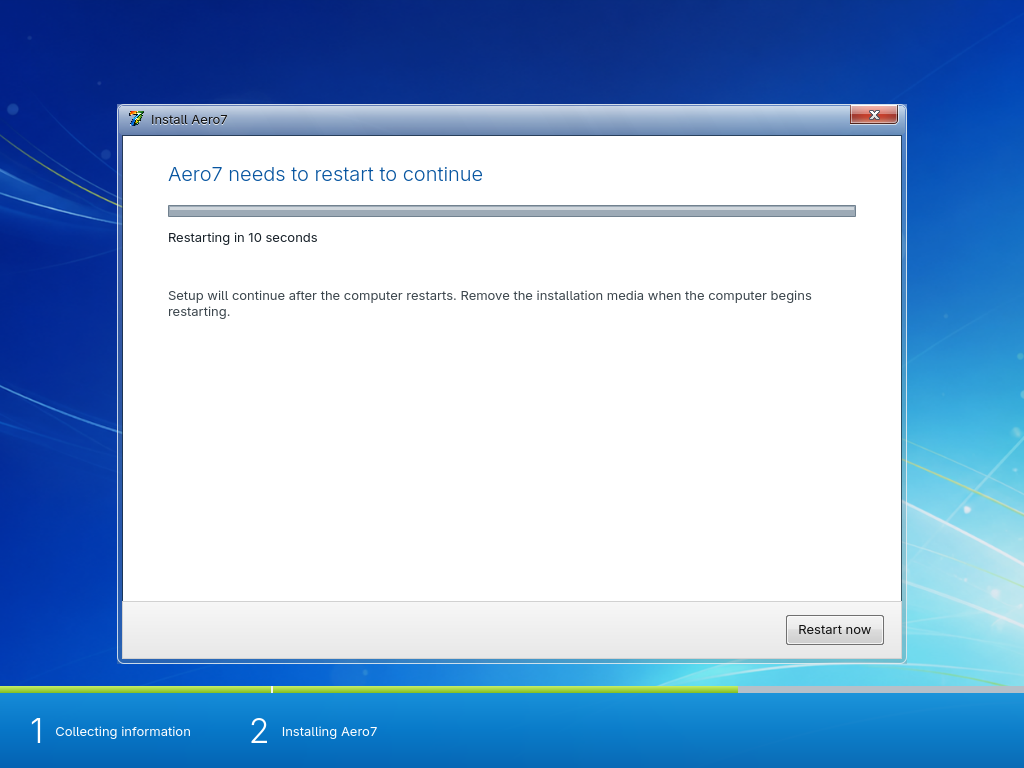
The QEMU launcher prefers the installed virtual disk over the still-attached DVD. On hardware, remove the USB or choose the installed disk if firmware boots the installer again. The installed Plymouth animation plays before OOBE begins.
The complete gallery above is generated directly from the current QML source; no historical installer screenshots are mixed into this page.
Keyboard navigation
The installer supports mouse input plus Tab, Shift+Tab, Enter, Escape, and visible keyboard focus. Alt+F2 opens recovery; Alt+F1 returns to setup.