 Synced from GitHub
Installation
Beta 1 can be installed on an x86-64 UEFI PC or in a virtual machine. Back up important data, disconnect unrelated drives, and verify the model and size of the selected target before continuing. Whole-disk installation permanently erases the selected disk.
1. Download
Recommended when Beta 2 is published: download the offline ISO. It embeds the complete
package set, so installation does not pause for mirrors or package downloads
and is usually much faster on slower laptops. The installed system still uses
the normal configured repositories for later updates. Use the smaller online
ISO only when download size matters and reliable Internet will remain
available throughout setup.
The Beta 2 files are not public yet. Until their release checks are complete, Beta 1 remains the current downloadable installation image.
Open the Aero7 Beta 1 release and download the current ISO and its matching .sha256 file.
aero7-beta1-YYYY.MM.DD-x86_64.isoaero7-beta1-YYYY.MM.DD-x86_64.iso.sha256
2. Verify the download
On Linux, place both files in the same directory and run:
sha256sum -c aero7-beta1-*.iso.sha256Expected result:
aero7-beta1-YYYY.MM.DD-x86_64.iso: OKThe filename and checksum must match the values shown on the release page. Never install an image that fails verification.
3. Create a bootable USB
Writing an installer USB destroys the existing contents of that USB drive. Double-check the selected removable drive before starting.
Ventoy
to the USB drive. Ventoy formats it during initial setup.
- Copy the verified Aero7 ISO onto Ventoy's first partition like a normal file.
- Boot the PC's UEFI entry for the Ventoy USB and select the Aero7 ISO.
- Try Ventoy's normal mode first.
- If the normal mode hangs, drops to a shell, cannot find the live media, or
does not accept input, reboot into Ventoy, highlight the ISO, and press r or Ctrl+r to use GRUB2 mode.
Ventoy GRUB2 mode is the path validated on the Dell Latitude 3310 hardware test. Do not use Ventoy's WIMBOOT mode for this ISO.
Rufus on Windows
- Download Rufus and insert an empty USB drive.
- In Device, select that USB drive. Selecting the wrong device erases it.
- Click SELECT and choose the verified Aero7 ISO.
- Choose GPT as the partition scheme and UEFI (non CSM) as the target.
- Keep the other recommended defaults and click START.
- If Rufus asks, try ISO Image mode first. If the resulting USB does not
boot correctly, write it again and choose DD Image mode.
Direct image writer on Linux
Graphical raw-image writers such as KDE ISO Image Writer or GNOME Disks can write the ISO directly. Select the ISO, select the complete USB device—not one of its partitions—and confirm the destructive warning. Eject it cleanly after the writer finishes.
4. Prepare a physical PC
- use x86-64 UEFI firmware and disable Secure Boot;
- set the storage controller to AHCI, not Disabled, RAID On, or Intel RST;
- use wired networking when possible because packages are downloaded during
setup;
- keep the PC connected to power;
- disconnect disks that Aero7 must not modify.
Changing RAID On to AHCI can make an existing operating system unbootable. Prepare that operating system first, or use a disk containing nothing you need.
5. Optional: create a virtual machine
Recommended configuration:
| Setting | Value |
|---|---|
| Architecture | x86-64 |
| Firmware | UEFI/OVMF |
| CPU | 4 virtual CPUs |
| Memory | 4 GiB minimum; 8 GiB comfortable |
| Display | QXL with SPICE |
| Input | VirtIO tablet |
| Network | User-mode/NAT with internet access |
| Disk | New 40 GiB VirtIO block disk |
| Installation media | Aero7 Beta 1 ISO |
Beta 1 accepts writable, non-removable /dev/vd*, /dev/sd, /dev/nvmen, and /dev/mmcblk whole disks. Mounted, read-only, removable, undersized, live-media, and unsupported device paths are rejected.
6. Boot the installer
The UEFI menu offers:
- Aero7 Setup — normal boot with the graphical splash;
- Aero7 Setup (debug, no splash) — visible kernel and service messages;
- Reboot Into Firmware Interface — returns to the system firmware.
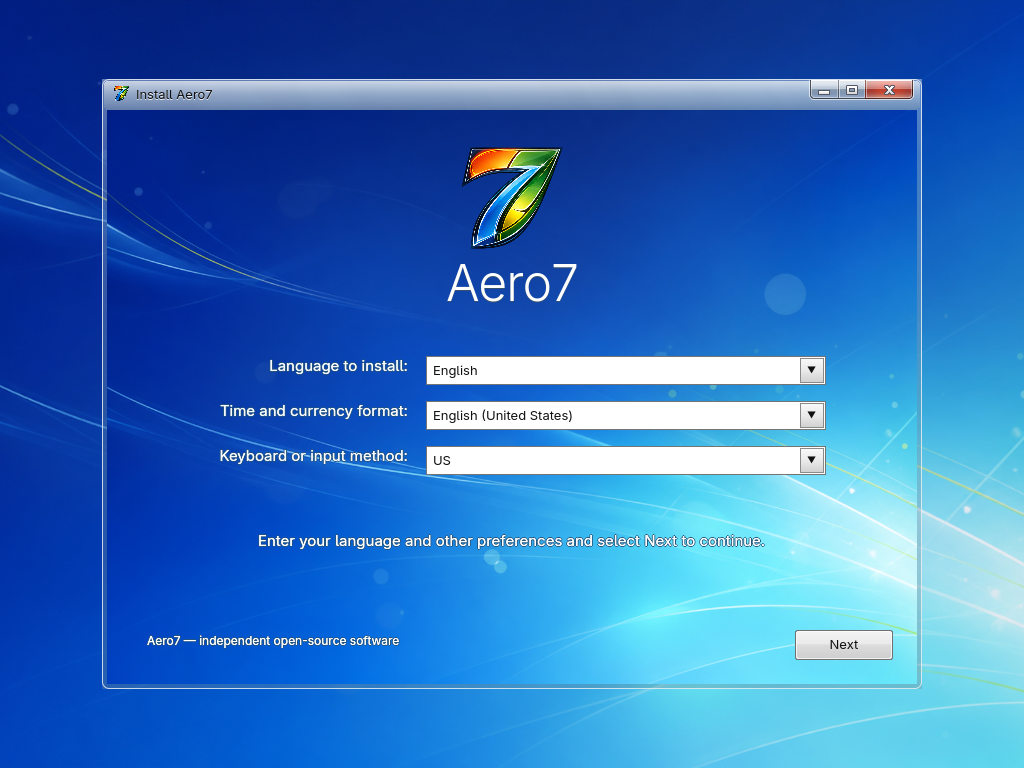
Normal setup opens directly. There is no general-purpose live desktop.
7. Install
Follow the pages described in Installer Guide. The erase-disk option creates:
- a GPT partition table;
- a 1 GiB FAT32 EFI System Partition;
- an ext4 root partition using the remaining space;
- a systemd-boot UEFI entry.
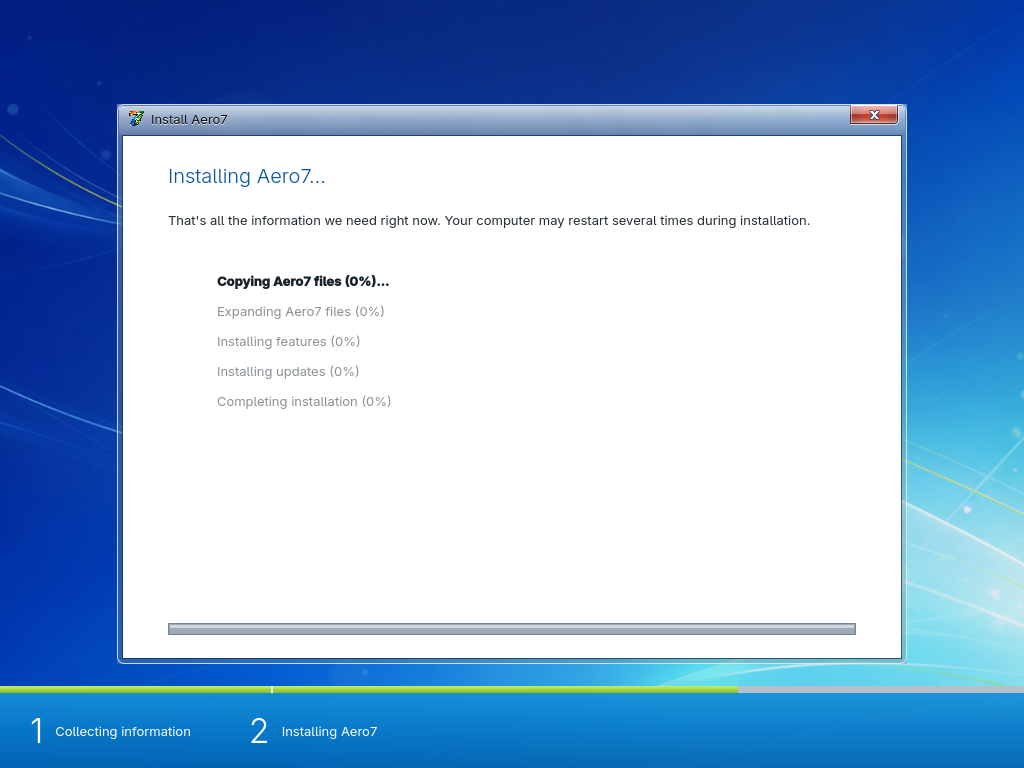
The installer downloads official Arch packages and signed Aero7 packages, so the system must have internet access.
Guided advanced drive options
Select Drive options (advanced) to show existing partitions and unallocated regions. Beta 1 provides:
- New on at least 17 GiB of unallocated space, preserving existing
partitions;
- Format on one selected partition of at least 17 GiB, erasing only that
partition and replacing its region with an Aero7 ESP and root;
- Shrink on NTFS, leaving at least 16 GiB for the existing filesystem and
releasing at least 17 GiB for Aero7.
- Delete to erase the selected non-system partition and turn it into
unallocated space. A confirmation warns that all data will be lost.
- Extend to grow a supported selected partition into adjacent unallocated
space after a destructive-operation confirmation.
- Load Driver to load a trusted storage/controller kernel module from
removable media when a disk is not detected.
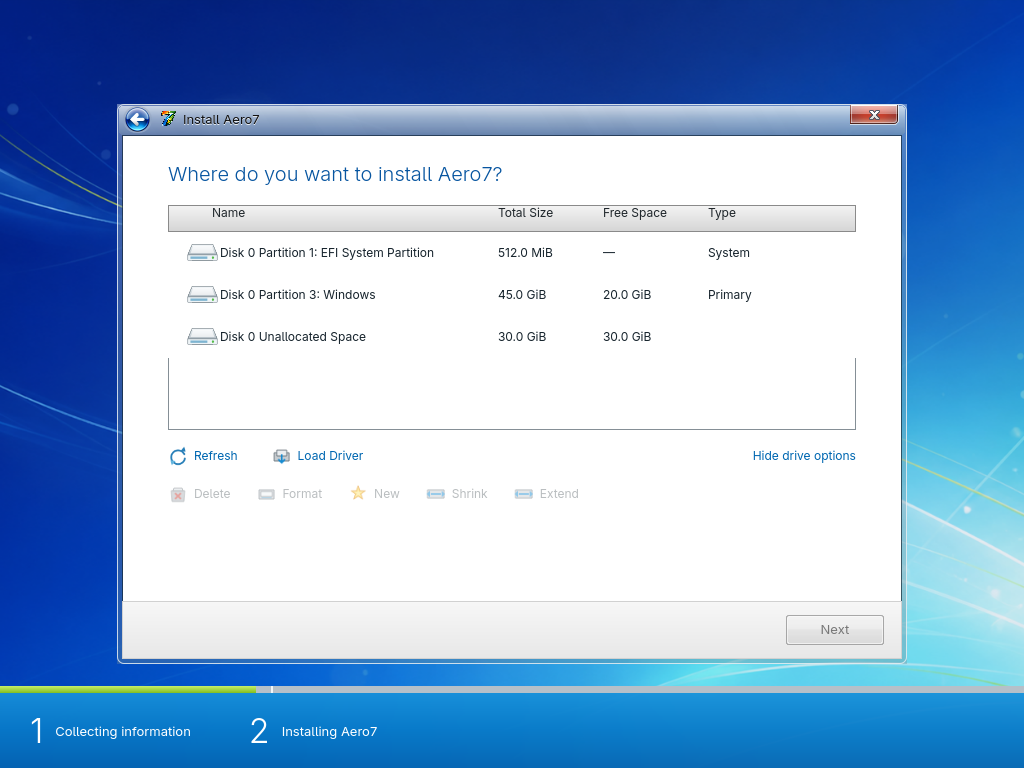
Actions remain disabled until the selected row supports them. Before shrinking, back up the drive, disable Windows Fast Startup, and fully shut Windows down. The installer checks NTFS, runs a no-action resize trial, saves the GPT table, shrinks the filesystem before its partition boundary, and revalidates exact sector geometry.
Developers can create the non-bootable synthetic preservation fixture with ./scripts/run-qemu.sh --fresh --dualboot-fixture. It contains an existing EFI partition, a placeholder Windows data partition, and unallocated space; it is for testing preservation and installation, not for testing Windows itself.
8. Restart and personalize
After the disk phase, the machine restarts from its installed disk. Remove the USB if the firmware selects it again. The OOBE pages create your user, password, computer name, time zone, update choice, and network profile. See First Boot and OOBE.
If something goes wrong
- Boot Aero7 Setup (debug, no splash).
- Press Alt+F2 for the recovery console and Alt+F1 to return.
- Read Troubleshooting and
Do not install Beta software to a disk containing your only copy of important data.